Wednesday, March 8, 2017

Mixed Media Trinket Box

Good morning everyone,

Sunila & Aditi here and today we have a fun tutorial on a mixed media trinket box for you'll. Everyone needs a box to store their trinkets, tit-bits, etc.. This also makes a great gift.

Lets begin..

Supplies used:


MDF Box
White Gesso (any brand)
Mod Podge
New paper
Gauge/cheese cloth
Paint brush
Palette knife
Stencil - Tim Holtz Scribbles
Art Basics White Crackle texture paste (can also use modelling paste)
Liquitex glass beads texture (can substitute with sand texture, grit paste, mix any beads in gesso)
Dylusions Sprays- Campso Teal, Cut Grass, London Blue, Polished Jade (Can use acrylic paints or any other sprays)
Mont Marte Acrylic Paint- cerulean blue (can use any brand or chalk paints as well)
Inka gold Old Silver or any other wax based pain to highlight the texture.
Embellishments of your choice


Step 1:
Apply a layer of mod podge on the lid and four sides of the box. This layer needn't be thick and go side by side, sticking randomly torn pieces of newspaper. You can over lap them.


Step 2: Cut pieces of gauge/cheesecloth and stick it randomly creasing it on all sides over the paper using a little mod podge. 


Step 3: Cover all sides with gesso. This will also help stick the gauge pieces and prime our surface for further texture.


Step 4: Some more texture. Using a stencil and crackle paste go over all the sides. Here we went over the complete surface, you could also do it at random places. Since we used crackle paste, its important to let it air dry a bit before using the dryer. This gives us great cracks.


Step 5: Using the glass beads texture go over the surface randomly with your finger and dry it. This add more interest to the existing textures. You could use sand texture, grit paste, or mix beads in gesso. 


Step 6: Once dry, we are ready to play with our colours. Like mentioned above, here we used the dylusions sprays, however you could also use acrylics paints and spritz them with water to blend.

Step 7: Paint inside and the bottom of the box and the back of the lid with an acrylic paint. Go over with inka gold on the glass beads texture, the cracks and the gauge to highlight the texture.


Step 8: Add your embellishments and the box is ready!


Hope you enjoyed this tutorial!

We are having a fun challenge this month, do check it out and participate:)! 


Hugs,
Sunila & Aditi


Monday, March 6, 2017

Birthday wood heart Photo Frame tutorial

Hello everyone and thanks for stopping by today.
Ann here and I've got a quick tutorial for you on how I made my heart Photo Frame for our current challenge, Birthday with the added twist of Balloons. Enjoy!

圖像裡可能有文字

This is what my project looked like:


Step 1 : Apply a layer of gesso and then another layer of acrylic paints on the frame. Let it's dry. To lighten the acrylic paint color, I add a bit of white paint to the sky.


Step 2 : What a fun time I've had this week playing with my new Distress Oxide pads! It's so easy to blend on Venus Wove. I love the oxidized effect when spraying it with water.


Step 3 : Stamp the balloon images and cut them out.


Step 4 : Fix the iron wire on the back of the balloons. Pierce a hole in the wood base. Insert the iron wire into the hole.


Here are the close up of the project.


Thanks so much for stopping by and hope this inspires you to join in our March Challenge. Can't wait to see what you make to link up and as always, happy creating!


Hugs & Love
Ann


Wednesday, March 1, 2017

Mixed Media Mojo MARCH

Welcome back to another fun challenge!  It's March already, almost time for Spring!  Before we get started with this month's challenge I want to thank everyone who played along in February with our fun Love themed challenge.  A big shout out to our amazing sponsor this month Michelle from EVERYTHING MIXED MEDIA - THANK YOU!


Our randomly selected winner  for a fantastic gift certificate to EVERYTHING MIXED MEDIA & Guest Design Team member for April is:

                                                                           Freddie


Now onto our March challenge.  The theme this month is BIRTHDAY with the twist of Balloons.  EVERYTHING MIXED MEDIA will be sponsoring us again for March!  How exciting is that?  Thank you Michelle!


Be sure to swing on by our amazing Design Team:


I hope you will play along with us this month! Please link up below a new project created for this challenge and do not combine with more than 6 other challenges. Limit to 3 entries per person. 

Maria

Monday, February 27, 2017

Brave Heart

Hi everyone, I'm Christina

I read somewhere that you should do one thing a day that scares you. For me that would be stepping out of my comfort zone in the creative world. Sometimes I tell myself to breathe, get back to work and create something brave and new. So, I decided to alter Tim Holtz idea ology mini clipboard and make it my own.

So here we go.....!


Title: Brave Heart


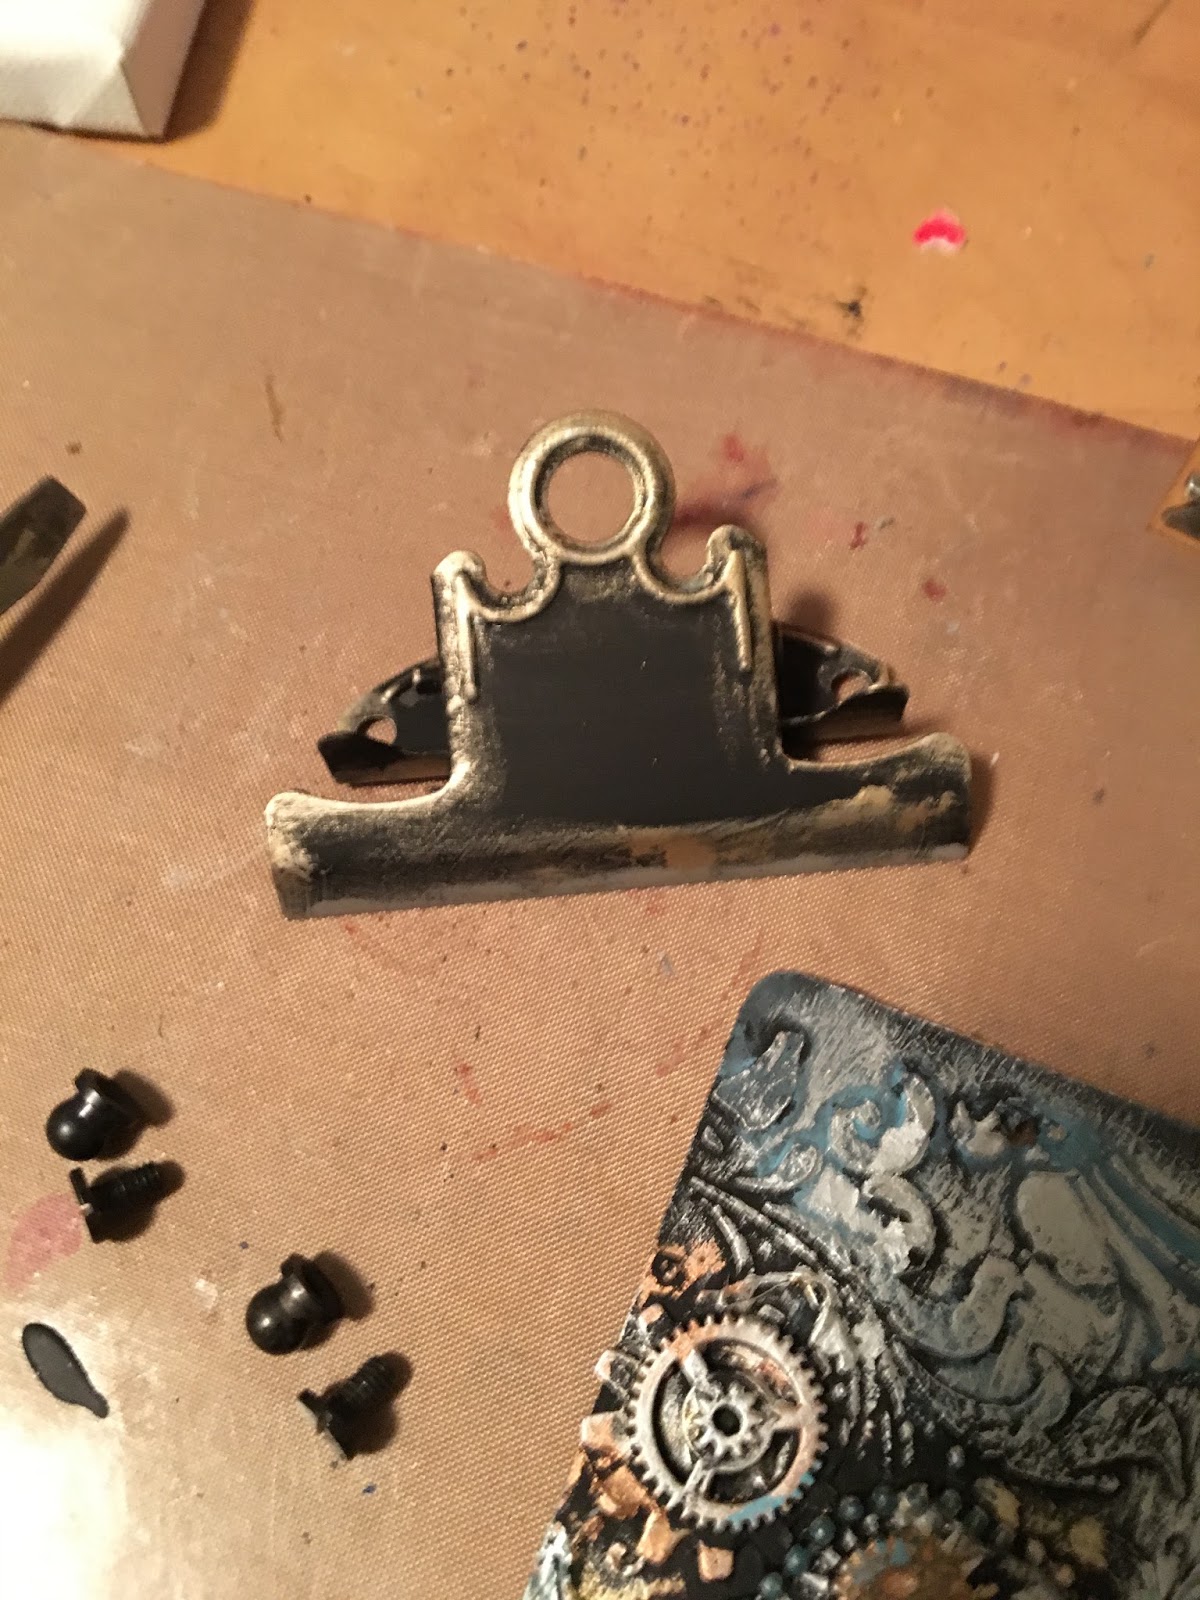
Start by taking apart the clipboard holder.


Apply black gesso to the clipboard, any brand will do.


Die cut and emboss the layered bee die out of chipboard from Tim Holtz Sizzix Alterations


Using the Tim Holtz Sizzix Alterations mixed media die, I used manilla paper from the #10 tag.


Apply Ranger texture paste through a variety of stencils, I used Tim Holtz Flourish, allow to dry or to speed dry use a heat tool. 


Once you have everything in place, the layered bee, gadgets/gears/beads etc. cover with a layer or two of black gesso. Heat set.


Now the fun begins......!
Using your finger, start rubbing in beeswax of various colors to give dimension and make your pieces come to life. I used Art (c) beeswax in gold/silver/bronze. For the more detailed parts I used a fine paint brush to add colour. 


Distress crayon, Smokey Sky was used to add more colour and give a vintage vibe to the piece. All you need to do is rub it in and a helpful tip....a little goes a long way.


Apply black gesso to the clipboard piece, heat set, then rub in a bit of the gold beeswax for a vintage effect


Here are two different techniques using the same layered bee die. As Tim Holtz would say this is definitely a "game changer"

Hope you enjoyed my tutorial and when you get a chance come on over and join the fun at our February challenge Love with a twist Wings. We can't wait to see what you create!

Christina


Wednesday, February 22, 2017

Heart Has Wings

Hello Guys!

With this month’s theme Love and Wings, we’ve created a journal cover tutorial for you’ll!


Supply List-
Journal Cover
Dusty Attic- Entangled Heart and Elegant Frames chipboard
Its Bitsy- Wings Chipboard
Prima Mechanicals- Flowers, Vintage Trinkets
Prima Art Stones
Prima Glass Glitter Copper
Prima Heavy Gesso White
Pieces of scrap paper
Papericious transparent domes
Prima Colour Bloom Antique Gold
Inka Gold Copper
Lindy’s Stamp Ganga Spray- Rizzo Rowdy Red, Blazing Black, Sidewalk Chalk, Peony Scarlet Red, Mission Bells Brown
Alene’s Tacky Glue 

Step 1:
Tear some scrap paper, and stick that along the top and bottom of the page using mod podge.  


Step 2:
Apply heavy gesso and cover the surface. Gesso, the chipboard pieces, domes and prima mechanicals and assemble on page. Once happy adhere them with glue.


Step 3:
Mix the art stones with gesso and randomly apply them on the page. 


Step 4:
Start playing with colours. Add randomly and stop when you feel good :)!   Once done, add glue at some spots and sprinkle the glass glitter.


Step 5:
Stamp the sentiment and stick it on the page. Using Inka gold, highlight certain textures by running over them with the finger.  


Hope you enjoyed this tutorial:)! Looking forward to your creations:)!

Here's a video link
https://youtu.be/b35WduOi90k

Regards,
Sunila & Aditi
Dots to Lines