Showing posts with label Ann Chuang. Show all posts

Wednesday, June 14, 2017

Graduation card tutorial

Hello everyone and thanks for stopping by today.
Ann here and I've got a quick tutorial for you on how I made my project for our current challenge, Graduation with the added twist of Travel.  Enjoy!

This is what my project looked like:


Step 1 : I used Gel Medium to adhere Tissue Wrap paper to the back of the panel and let it dry.


Step 2 : Simply scribble various colors of distress crayons directly on the surface.  The distress crayons blend beautifully over the Tissue Wrap paper.


Step 3 : Applied Texture Paste through stencil randomly.


Step 4 : Using Chipboard Letter to spell out words "Congrats".


Step 5 : Die cut a piece of foggy silver cardstock using the Earth Globe Shape die.


Step 6 : Stamping the image of girl by Dina Wakley, bachelor cap and diploma by MFT. Coloring with Copic markers.


Step 7 : I made a black tassels and put it on the left upper corner.


Thanks so much for stopping by and hope this inspires you to join in our June Challenge.  I can't wait to see what you make to link up and as always, happy creating!


Hugs & Love


Ann


Wednesday, May 3, 2017

Celebration/Wedding tutorial

Hello everyone and thanks for stopping by today.
Ann here and I've got a quick tutorial for you on how I made my project for our current challenge, Celebration with the added twist of Wedding. Enjoy!

圖像裡可能有文字

This is what my project looked like:

Step 1 : Stamp the image using VersaMark Ink Pad. Pour embossing powder over your image to cover all inked areas. Heat the embossing powder with a heating tool until completely melted.

Step 2 : I using spray inks to do a blue sprayed background. Let it dry. Lightly spritz it with water.

Step 3 : I die cut the Tim Holtz SEWING ROOM Dress Form die from the chipboard. Paint with acrylic paints.

Step 4 : Sewing the doll wedding dress.

Step 5 : I added some punched butterflies from Martha Stewart's punch and some gems over the skirt. I adhere the dress to the dress form and decorate a necklace.

And this is the completed project. I hope you like it!

Thanks so much for stopping by and hope this inspires you to join in our May Challenge. Can't wait to see what you make to link up and as always, happy creating!

Hugs & Love


Ann


Monday, April 3, 2017

Spring tag tutorial

Hello everyone and thanks for stopping by today.
Ann here and I've got a quick tutorial for you on how I made my tag for our current challenge, Spring with the added twist of Showers. Enjoy!


This is what my project looked like:

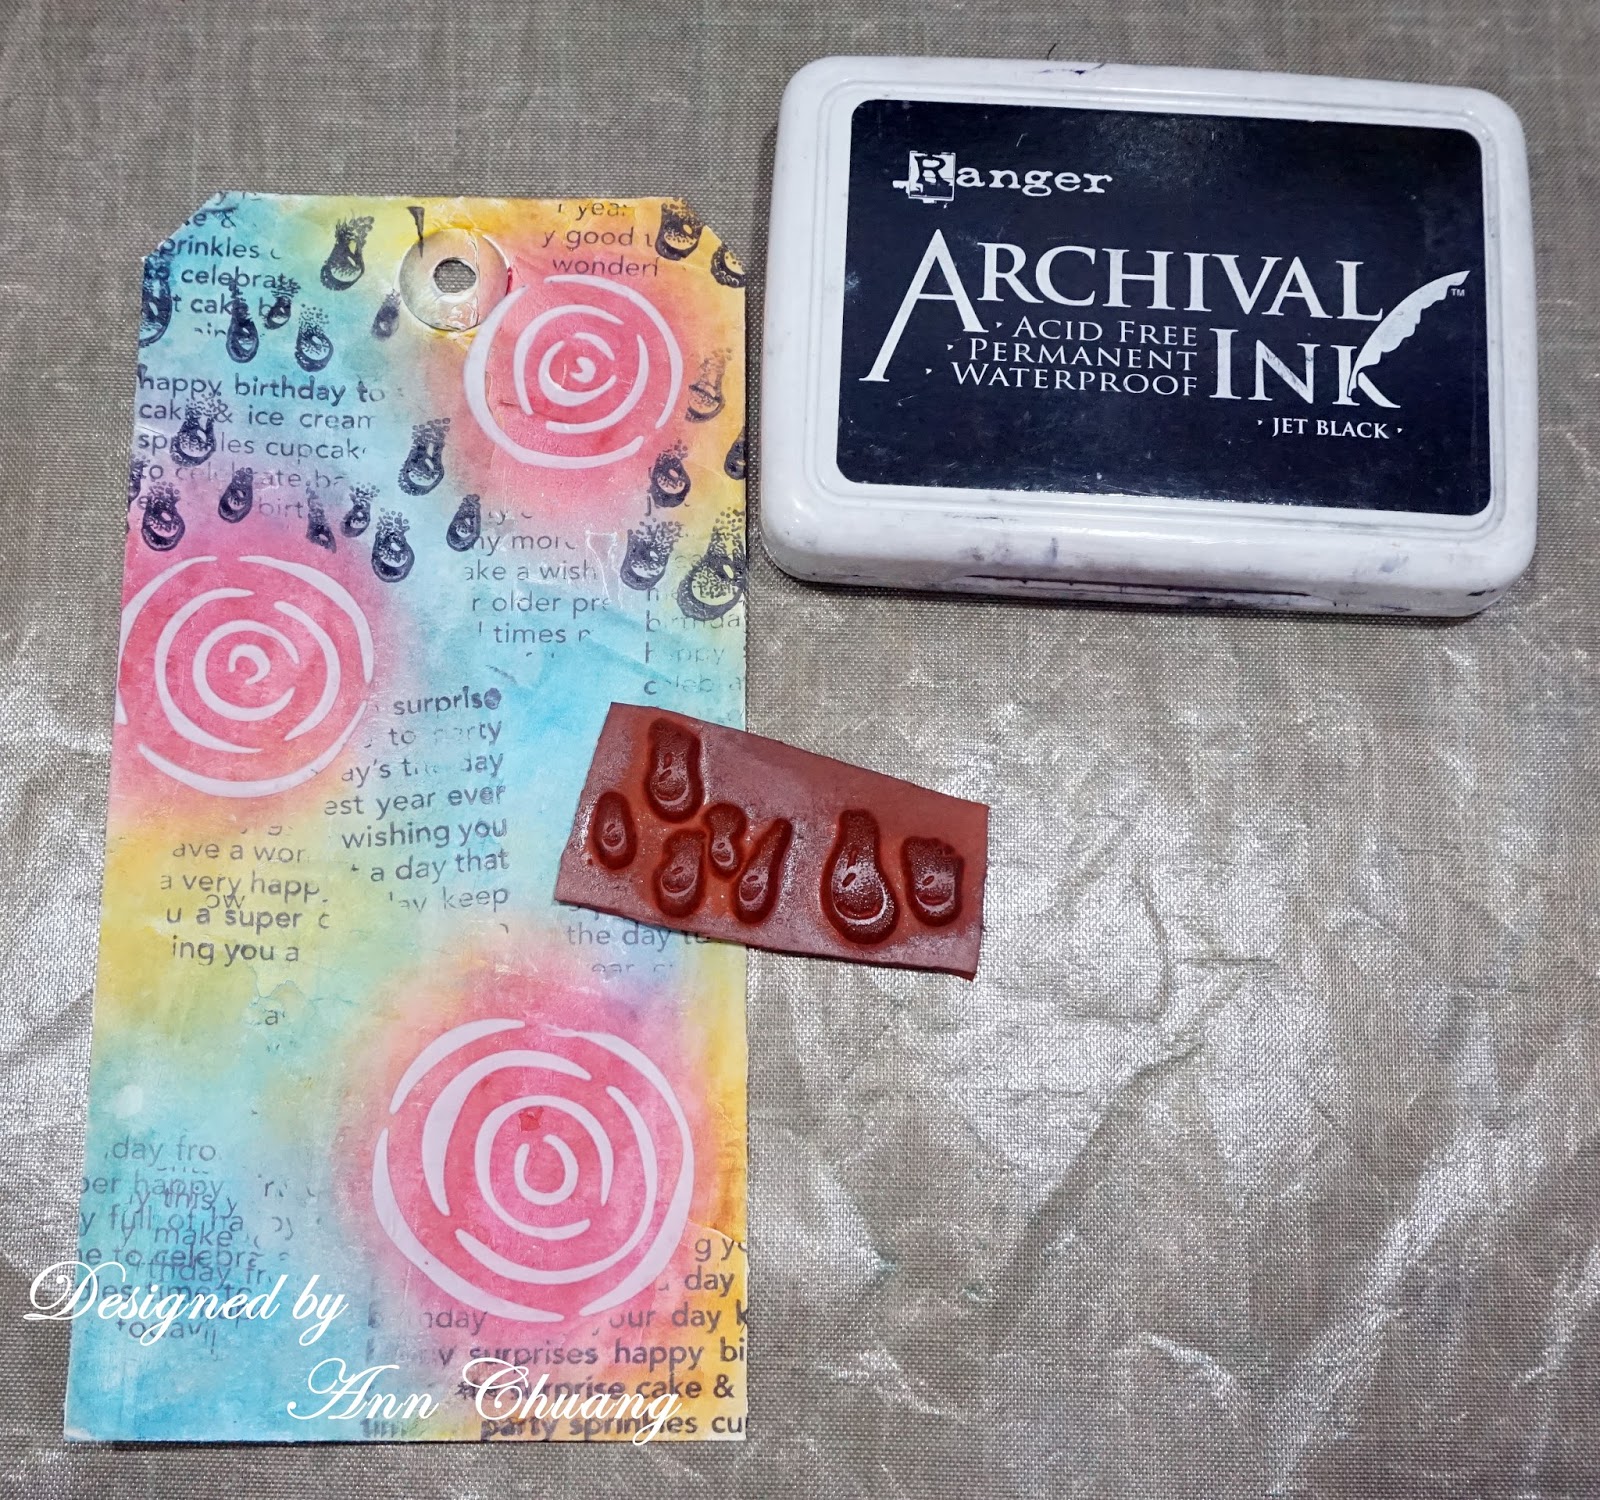
Step 1 : Apply a layer of gesso. Let it's dry. Simply scribble various colors of distress crayons directly on the tag and smudge the colors by rubbing with my fingers to blend.

Step2 : I using a palette knife and Golden's Molding Paste to apply a stenciled design on the tag to form a rose image.

Step 3 : Using MFT's "HB Background", stamping randomly.

Step 4 : Stamping the "Water Effects" on the top one-third of the tag.

Step 5 : Die-cutting the Sizzix's "Wildflowers" from black card stock.

Step 6 : Wrapping string around the bottom of tag numerous times and glue the sentiment on it.

And this is the completed tag. I hope you like it!

Thanks so much for stopping by and hope this inspires you to join in our April Challenge. Can't wait to see what you make to link up and as always, happy creating!

Hugs & Love


Ann

Monday, March 6, 2017

Birthday wood heart Photo Frame tutorial

Hello everyone and thanks for stopping by today.
Ann here and I've got a quick tutorial for you on how I made my heart Photo Frame for our current challenge, Birthday with the added twist of Balloons. Enjoy!

圖像裡可能有文字

This is what my project looked like:


Step 1 : Apply a layer of gesso and then another layer of acrylic paints on the frame. Let it's dry. To lighten the acrylic paint color, I add a bit of white paint to the sky.


Step 2 : What a fun time I've had this week playing with my new Distress Oxide pads! It's so easy to blend on Venus Wove. I love the oxidized effect when spraying it with water.


Step 3 : Stamp the balloon images and cut them out.


Step 4 : Fix the iron wire on the back of the balloons. Pierce a hole in the wood base. Insert the iron wire into the hole.


Here are the close up of the project.


Thanks so much for stopping by and hope this inspires you to join in our March Challenge. Can't wait to see what you make to link up and as always, happy creating!


Hugs & Love
Ann


Monday, February 20, 2017

Mixed Media Framed Art tutorial

Hello everyone and thanks for stopping by today. Ann here and I've got a quick tutorial for you on how I made my Mixed Media Framed Art for our current challenge, Love with the added twist of Wings. Enjoy!

If you recall, this is what my project looked like:


To get started, I placed a few small dollops of acrylic paint onto the craft sheet, then use the brayer to gently spread out the paint. When the paint has been spread out, gently "walk" the brayer across different parts of the the panel. Repeat the above process using different colors. When it dry, I die-cut the lower left corner and the upper right corner and stamping randomly.


I punched out several hearts, glued them together, then smudged the paint with my finger. Die cutting feather, painting the die cut with Distress Paint.


I'm featuring two of my new dies from Spellbinder, designed by Seth Apter. I just love these dies called Drip Drop and Robo Rings. I've used the acrylic paints to colour the die cut images and let it dry. I applied a layer of crackle paint on the Drip Drop. Stamping the Robo Rings.


Here are some close ups of the project.


And this is the completed project - I am really happy with how it came out. I hope you like it!


Thanks so much for stopping by and  hope this inspires you to join in our February Challenge, you still have a few days to enter! Can't wait to see what you make to link up and as always, happy creating!

Hugs & Love
Ann