Showing posts with label Tim Holtz. Show all posts

Wednesday, April 12, 2017

Springtime is Flower Time

Happy Wednesday everyone! Cathy here with a new Spring project to share with you. I love the flowers blooming part of Spring the best! I don't have a garden so I have to make mine out of paper or buy them at the store and I'm okay with that! :)
Please make sure to join in the fun and link your Spring with a Shower twist project to the original post found HERE

So for this project I wanted to try something new, so I did a reverse canvas! Loved it and now have a new way to use things I have in my stash!


My Springtime reverse canvas


I used my Eileen Hull flower die to cut out numerous flowers. I then "oxided" them in Broken China and Wilted Violet. I then embossed Emerald Creek Daisy Brads with the new Salted Raven Enamel EP from Emerald Creek. I used the ecQuarry stones for some of the flower centers as well.
 
 
I used lavendar tissue paper and TH distress collage medium to put it on my canvas. Once that was dried I ran some TH tissue tape around the sides. I then mixed some Finnabair paint (so shimmery!!) with Ranger Texture paste and added that on the sides of my canvas using the two TH stencils.
  
And now for some close ups :) 

Some shimmery Dylusions Mica Sprays to add some more colour

Th wildflower stencil and I didn't forget my twist, it's just hard to see! i added little raindrops around my frame with Glossy accents and some glitter, very sublte but they are there.

I used super tall pop up squares to get some height on my center piece and I love how it makes the charms cast a shadow on the background.

Added some ecQuarry Amethyst stones around my border

More ecQuarry stones in the center of the flower and look at all that oxidey goodness! :)

An Emerald Creek brad embossed with the Salted Raven Enamel EP

More ecQuarry stones for the flower center, they were the perfect finisher for these Eileen Hull oxided flowers!

And the center piece is a wonderful card from the Wild Whisper Rooted Love collection. I just fussy cut it out, then painted the tiny x's in purple so they matched my flowers. On the TH charms I ran some of the new Finnabair wax over them to give them some colour.  

Thank you so much for stopping by today and I hope you are ready to join in and share your spring/shower creation with us!
Have a wonderful Wednesday everyone!


Cathy

Monday, April 10, 2017

Welcome to the OxSide

Hi everyone, I'm Christina.

Once I had an art instructor at college tell me that I should incorporate my fears into my art, because it gave it character and brought out my true self. The assignment was to interpret a Chagall painting - it was a circus. One of my many fears....clowns etc. I created a piece with my fears to make it my own. I received an A-

I remember that day, and I think I still have my art piece, in the basement.

So now, onto the good stuff.....!!!
As promised I'm doing a tutorial on my mixed media tag I created for this months challenge: April - Spring with a twist Showers.


As most of you know, Tim Holtz has come out with a very exciting product, Distress Oxides. This type of distress is a lot of fun to play with and I'm going to show you how awesome the colours work!


First I took a #8 Kraft tag and tapped it over the distress oxides, Vintage Photo and Faded Jeans (already spritzed with water) then heat set. I repeated this step till I got the coverage I wanted. Hint: to prevent the colours turning into mud, heat set after each application.


Next apply Ranger texture paste - Transparent over Tim Holtz stencil - Splatters with a palette knife, let it air dry. This gives the illusion of rain droplets/showers.


Randomly stamp images using Ranger Black archival ink on top of tag. I used Wendi Venchi Art for You stamp set, honeycomb.


Distress Oxide Vintage Photo and Faded Jeans were used to watercolour the butterfly on TH mixed media #8 tag. This surface sturdy and holds the color for a nice deep effect.


To make Tim Holtz Salvage doll less "creepy", I painted her with an alcohol ink mixative in gold, to give her a more angelic vibe. For those of you that don't know, I have a doll phobia. So it was a little challenging for me to add her. But I'm glad I did, as she is the focal point of this piece.


Did you know that you can oxide TH crinkle ribbon?? Just swipe the oxides on your craft sheet, make sure they don't overlap, spritz them and scrunch the ribbon till it's covered and heat set it. It's pretty cool to see the colors layering on top instead of blending.


Next I grabbed one of my hubby's spare guitar parts (a spring) and covered it with black gesso. Any kind will do. To speed up the drying process, heat set it.


This is the fun part.....! Be prepared to get messy, using your finger smudge various colors of beeswax over the spring to your desired taste. I used Art (c) beeswax in copper and Viva Decor Inka Gold in steel blue. Then sand it down so it's not as vibrant.


Here you can see the effect of the beeswax and how vintage the spring looks.


Attach everything in place and let it set. For the metal spring and "angelic" doll I used a very sturdy glue called E 6000. You can buy it at any local craft store. Mine was from Michaels in the floral section with the other glues.

I do hope you enjoyed my tutorial and if you're feeling inspired,  join in the fun in our April challenge: Spring with a twist Showers. We want to see what you create!!

Christina


Wednesday, March 22, 2017

Happy Birthday with Oxides!

Hello Mixed Media Mojo fans! Cathy here with another birthday with a balloon twist project! I am loving the new Oxides, I want to use them on everything and I kind of do!! LOL But I also still love my embossing powders and use them on so many things! Here is my newest project! Please check out the original post HERE and join in the fun!


Happy Birthday Balloons!


I started with a manilla tag and smooshed around my Distress Oxides to get nice colours for my balloons. I then embossed my Emerald Creek Charms with Charred Gold and Hammered Metal. I used a piece of paper from my stash and oxided it up!

I went over my balloons and my stash paper with the Crazing collage Medium, I seriously love this stuff!

Hammered Metal balloon

Charred Gold Balloon

Used my Small talk stickers to add to the birthday sign

Just look at the itty bitty crackly from the crazing medium!

I went over this crackle part with my Wilted Violet Distress Crayon and it just rubbed in so nicely!

On the edges of the balloons I rubbed a quick touch of Finnabair's new Opal Wax to give it some shimmer, it doesn't photograph so great but in person it's a gorgeous shimmer!
All of the wonderful supplies I used for this Oxidey birthday card!


Thanks so much everyone for stopping buy and don't forget to get your Birthday with a balloon twist entry in!! Can't wait to see all the projects you share with us!

Cathy

Monday, March 20, 2017

Mixed Media Tag Tutorial

Hi everyone, I'm Christina.

As most of you know I'm a Tim Holtz addict! One of the many products I have is the ever popular Sizzix die The Lost Zombie. I knew when I received this die that there would be high hopes for him. You can switch it up for any occasion.

For the March Challenge I decided to create a mixed media tag using The Lost Zombie die.


Meet Rusty. He's got big plans! Tracking through the twigs, with a present and balloons. It's a bit windy, but it's not stopping him form enjoying the celebration.


After dressing the zombie, apply distress ink Walnut Stain around the edges for a tattered look.


Apply a thin coat of gesso to a #8 manilla tag. Let it air dry. It doesn't take long because there's not a lot of gesso on the tag.


Now the fun part begins....using any color of distress crayon, I used (Abandoned Coral and Vintage Photo) start colouring in random areas on the tag and blend with your fingers till the tag is covered. Hint: if the color is too dark, you can always buff it out with a baby wipe. Next place stencil (Dot Fade) on top and apply texture paste over in random areas of tag. Let it air dry.


Apply distress ink Broken China on top of Dot Fade, to give a hint of color.


For the zombie's (aka - Rusty) accessories I used Stampers Anonymous CraZy ThiNgs and the coordinating sizzix Framelits die, then coloured with distress crayons in Abandoned Coral, Feathered Peacock and Mermaid Lagoon.


This is one of my favourite dies - Sizzix thinlits die Twisted. It was used for the grass. 


The saying - Eat More Cake - is from the Stampers Anonymous - Handwritten Sentiments. I really enjoy playing with this set, because of the expressive lines.


Notice the brush strokes from colouring - it gives an effect of woodgrain in the background. It's pretty cool right?!

I hope you enjoyed my tutorial and if you want further inspiration check out the other talented design team members projects on this blog.

We want to see your creations for the March challenge: Birthday with a Twist Balloons. So, grab your tea/coffee, supplies out and use your imagination. The possibilities are endless!

Christina


Monday, February 27, 2017

Brave Heart

Hi everyone, I'm Christina

I read somewhere that you should do one thing a day that scares you. For me that would be stepping out of my comfort zone in the creative world. Sometimes I tell myself to breathe, get back to work and create something brave and new. So, I decided to alter Tim Holtz idea ology mini clipboard and make it my own.

So here we go.....!


Title: Brave Heart


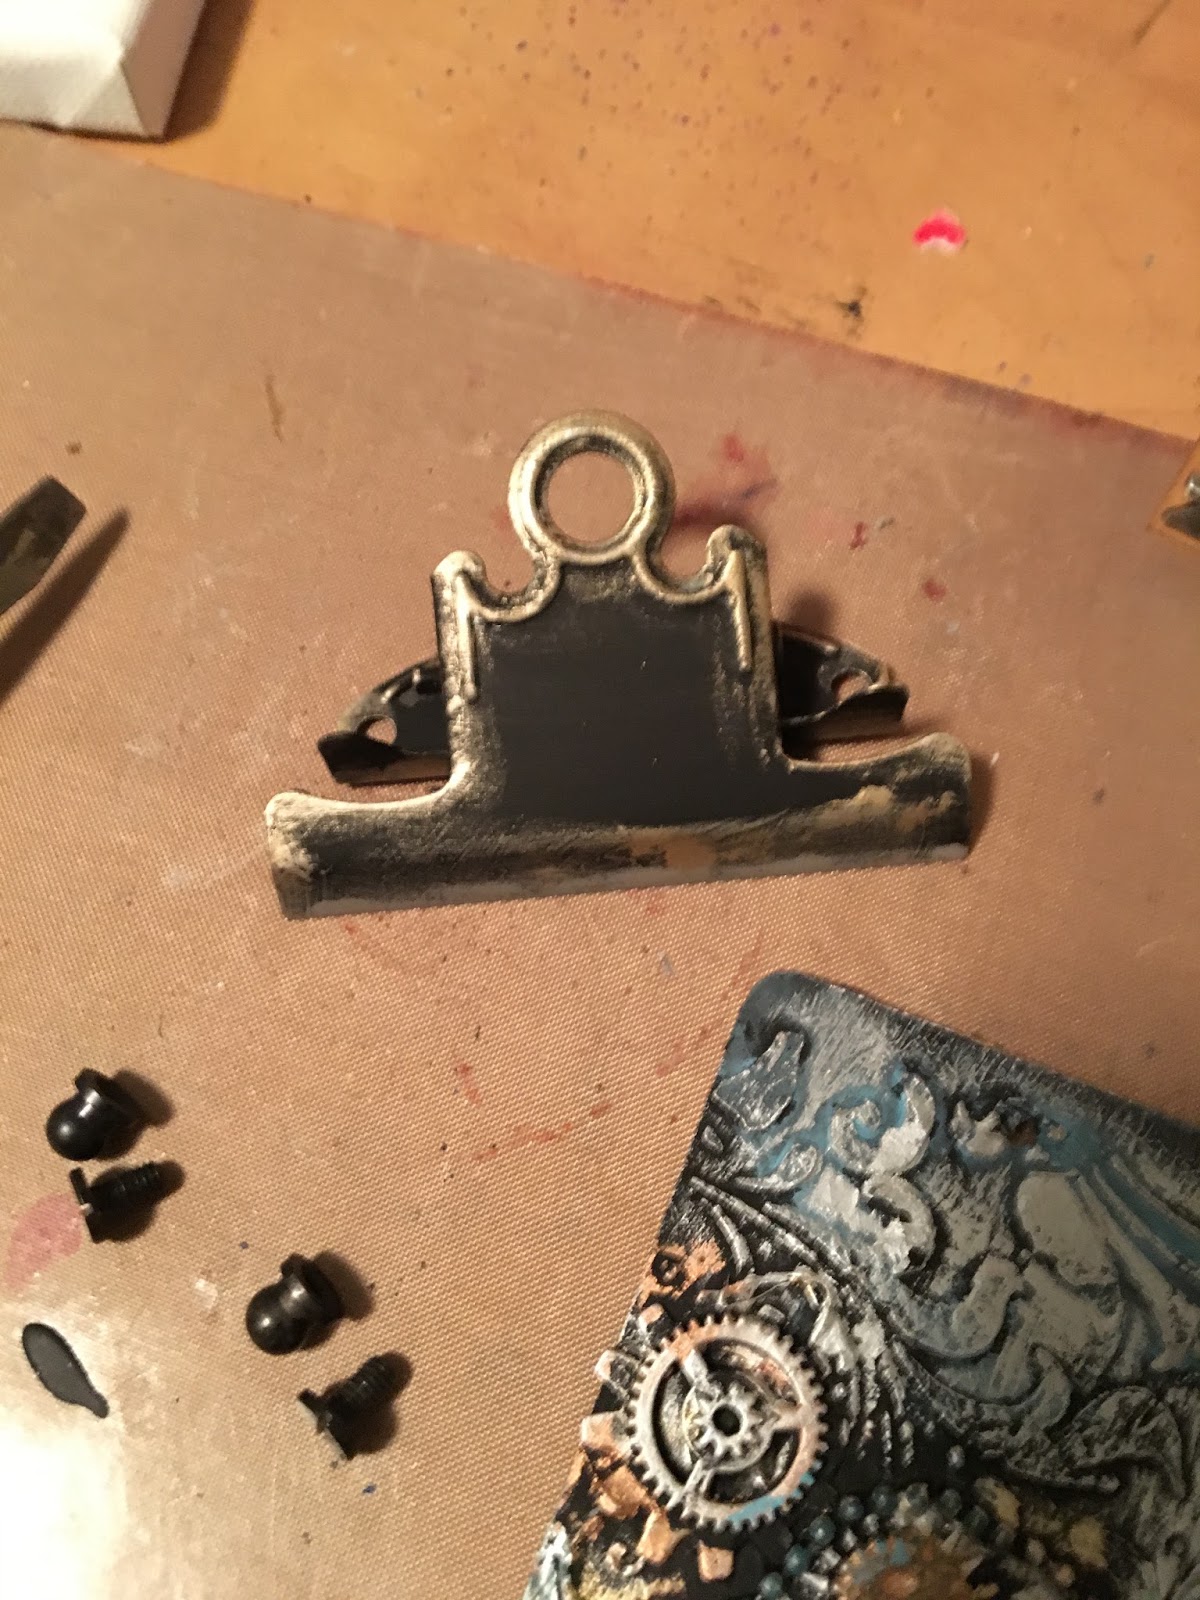
Start by taking apart the clipboard holder.


Apply black gesso to the clipboard, any brand will do.


Die cut and emboss the layered bee die out of chipboard from Tim Holtz Sizzix Alterations


Using the Tim Holtz Sizzix Alterations mixed media die, I used manilla paper from the #10 tag.


Apply Ranger texture paste through a variety of stencils, I used Tim Holtz Flourish, allow to dry or to speed dry use a heat tool. 


Once you have everything in place, the layered bee, gadgets/gears/beads etc. cover with a layer or two of black gesso. Heat set.


Now the fun begins......!
Using your finger, start rubbing in beeswax of various colors to give dimension and make your pieces come to life. I used Art (c) beeswax in gold/silver/bronze. For the more detailed parts I used a fine paint brush to add colour. 


Distress crayon, Smokey Sky was used to add more colour and give a vintage vibe to the piece. All you need to do is rub it in and a helpful tip....a little goes a long way.


Apply black gesso to the clipboard piece, heat set, then rub in a bit of the gold beeswax for a vintage effect


Here are two different techniques using the same layered bee die. As Tim Holtz would say this is definitely a "game changer"

Hope you enjoyed my tutorial and when you get a chance come on over and join the fun at our February challenge Love with a twist Wings. We can't wait to see what you create!

Christina