Showing posts with label tutorial. Show all posts

Monday, March 20, 2017

Mixed Media Tag Tutorial

Hi everyone, I'm Christina.

As most of you know I'm a Tim Holtz addict! One of the many products I have is the ever popular Sizzix die The Lost Zombie. I knew when I received this die that there would be high hopes for him. You can switch it up for any occasion.

For the March Challenge I decided to create a mixed media tag using The Lost Zombie die.


Meet Rusty. He's got big plans! Tracking through the twigs, with a present and balloons. It's a bit windy, but it's not stopping him form enjoying the celebration.


After dressing the zombie, apply distress ink Walnut Stain around the edges for a tattered look.


Apply a thin coat of gesso to a #8 manilla tag. Let it air dry. It doesn't take long because there's not a lot of gesso on the tag.


Now the fun part begins....using any color of distress crayon, I used (Abandoned Coral and Vintage Photo) start colouring in random areas on the tag and blend with your fingers till the tag is covered. Hint: if the color is too dark, you can always buff it out with a baby wipe. Next place stencil (Dot Fade) on top and apply texture paste over in random areas of tag. Let it air dry.


Apply distress ink Broken China on top of Dot Fade, to give a hint of color.


For the zombie's (aka - Rusty) accessories I used Stampers Anonymous CraZy ThiNgs and the coordinating sizzix Framelits die, then coloured with distress crayons in Abandoned Coral, Feathered Peacock and Mermaid Lagoon.


This is one of my favourite dies - Sizzix thinlits die Twisted. It was used for the grass. 


The saying - Eat More Cake - is from the Stampers Anonymous - Handwritten Sentiments. I really enjoy playing with this set, because of the expressive lines.


Notice the brush strokes from colouring - it gives an effect of woodgrain in the background. It's pretty cool right?!

I hope you enjoyed my tutorial and if you want further inspiration check out the other talented design team members projects on this blog.

We want to see your creations for the March challenge: Birthday with a Twist Balloons. So, grab your tea/coffee, supplies out and use your imagination. The possibilities are endless!

Christina


Monday, February 27, 2017

Brave Heart

Hi everyone, I'm Christina

I read somewhere that you should do one thing a day that scares you. For me that would be stepping out of my comfort zone in the creative world. Sometimes I tell myself to breathe, get back to work and create something brave and new. So, I decided to alter Tim Holtz idea ology mini clipboard and make it my own.

So here we go.....!


Title: Brave Heart


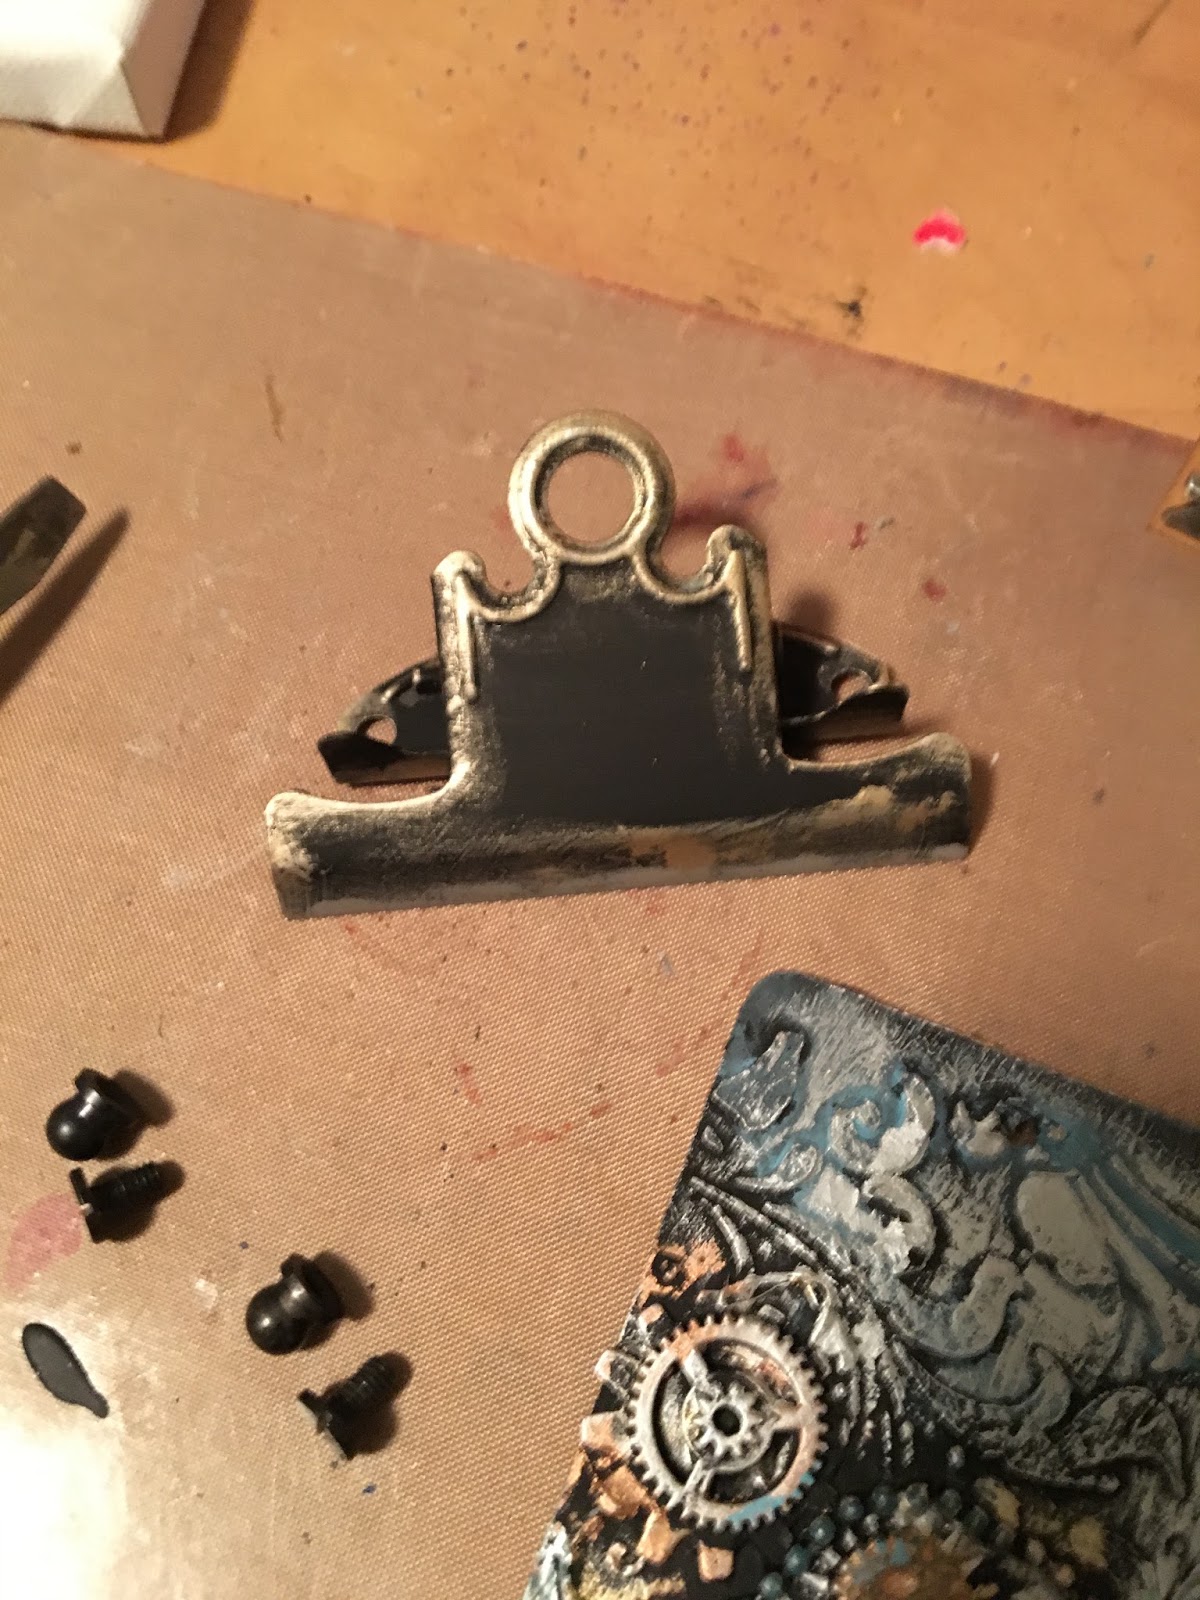
Start by taking apart the clipboard holder.


Apply black gesso to the clipboard, any brand will do.


Die cut and emboss the layered bee die out of chipboard from Tim Holtz Sizzix Alterations


Using the Tim Holtz Sizzix Alterations mixed media die, I used manilla paper from the #10 tag.


Apply Ranger texture paste through a variety of stencils, I used Tim Holtz Flourish, allow to dry or to speed dry use a heat tool. 


Once you have everything in place, the layered bee, gadgets/gears/beads etc. cover with a layer or two of black gesso. Heat set.


Now the fun begins......!
Using your finger, start rubbing in beeswax of various colors to give dimension and make your pieces come to life. I used Art (c) beeswax in gold/silver/bronze. For the more detailed parts I used a fine paint brush to add colour. 


Distress crayon, Smokey Sky was used to add more colour and give a vintage vibe to the piece. All you need to do is rub it in and a helpful tip....a little goes a long way.


Apply black gesso to the clipboard piece, heat set, then rub in a bit of the gold beeswax for a vintage effect


Here are two different techniques using the same layered bee die. As Tim Holtz would say this is definitely a "game changer"

Hope you enjoyed my tutorial and when you get a chance come on over and join the fun at our February challenge Love with a twist Wings. We can't wait to see what you create!

Christina


Monday, November 14, 2016

Turn Turn Turn Art Journal Page

Hello everyone, thank you for stopping by!  Deb here today and since it is Monday that means it's time for a new art journal page.  I made my Turn Turn Turn art journal page to incorporate some of the metallic leaves I didn't use on my first project this month for our Autumn with the twist of Metallics challenge.


I've a few step out photos on how I made it, enjoy!

I started out with a single page from my art journal (which I have had to take apart since it was getting to thick to close, I can't stop adding embellishments!).  I stamped the page with Tim Holtz's new Pine background stamp and Tree Branch Archival ink and then coloured the page with Antique Linen and Frayed Burlap Distress stain.


The word TURN was stamped several times on the page with Ground Espresso Archival ink and I then spattered the whole page with diluted white, orange and brown acrylic paints.

I die cut the Bird Branch die from some crackled cardstock I had in my stash from another project.  I cut the bird off and saved him for a rainy day!


The branch was a little too pale for my design so I coloured it first with Ground Espresso Distress stain and then intensified the colours here and there with Walnut Stain and Vintage Photo Distress crayons.

The Weathered Clock was die cut from some chipboard packaging and embossed with Burnt Copper Leaves embossing powder.  Love this embossing powder!


And then the page was assembled.  I made a tag by painting a piece of cardstock with Frayed Burlap Distress paint and then running it through my printer to print the sentiment (the font is called Beyond Wonderland).


The tag shape was cut out and some oak leaves were punched from a remnant of Distress ink coloured cardstock with a couple of Recollections punches.  The edges of the tag were edged with some gold Decofoil.

The leaves are Ranger Foil tape mounted onto cardstock, die cut with the Layered Leaf


and Arbor dies and then coloured with alcohol inks.


Here's a close up of the Pine background and spatters, such an easy way to get some texture and interest on your background.


I hope that you've enjoyed seeing my Turn Turn Turn art journal page, I really enjoyed making it and was humming The Byrds song the entire time I was putting it together.


You still have plenty of time to enter our November challenge so hope you will head into your craft space and make something to link up.  I can't wait to see it, happy creating!

Deb xo

Monday, February 22, 2016

Artful Mixed Media tag

Hello my dear crafty friends!
My name is Irit and I am an Israeli designer and the new member of this fantastic challenge blog.
In my real life I am a Dentist, wife of a retired high police officer, Mom of 4 adults and a happy grandma of two adorable  kids. In my spare time (thanks God for the empty nest) I craft and make art and then spend more of my spare time on the folk dancing room floor.
 A few years ago I began my artistic journey with scrapbooking. 5 years later  I am mostly Mixed Media artist and CAS cardmaker. Yes. One side of my soul likes everything messy and colorful. The other one asks for a quite white, with just a bit of stamping, cards. In the middle I still scrap (only when I have perfect studio photos); I work with polymer clay; I am pretty much addicted to resin art too.And I design for a dozen companies too. Middle age can be a blessing!
As I say- my strength is my versatility and it's pretty obvious when to visit my BLOG.
So today I am going to share a small tag tutorial and I think those technique can be used on cards, layouts, canvases and whatever.


I made this simple- not so - tag with paints, stencils, mediums and some letter stickers and it's all about counting your own blessings.The whole concept was made because of the number stamps. First I decided to use them. Then I picked the saying. Then everything else was done around those two.
So the new Pick a number stamp set from Rubber Dance Art Stamps is a star of this tag as you can see.
So let's see how to make this tag!
1. Make a hand mad tag (or use the real one if you have it) and cover it with 3 colors of fluid acrylics.


2. Use stencil  (ARTplorations) to add the long arrow over the tag using modeling paste or any other texture paste and heat dry the paste to make some fun bubbles over the dry paste.


3.Use another stencil and add some wording with white acrylic paint. Let the paint dry before the next step.


4.Stamp the numbers randomly over the painted tag using permanent black ink. I also added some more numbers later and this is not shown on this photo, but on the final tag only.


5.Add some more golden paint over the white words and the arrow and paint the edges with the darker red paint to make the frame of your tag. Make a hole to add the ribbons on the top of the tag.


6.Add a few final touches to your finished tag. First I added the letter stickers  to make my title. Then I outlined the white words with black fine markers. I also added some white doodling over the edges with white pen. Tie the ribbons and your art tag is done.


You still have time to enter our February challenge!